I previously used some 15 watt lights that I purchased from BioQuip.
If I am going to travel a ways to my collection point, I use a wagon that I purchased from Menard's that allows me to haul all my stuff in one trip. The wagon has pneumatic tires which work better than hard rubber ones.
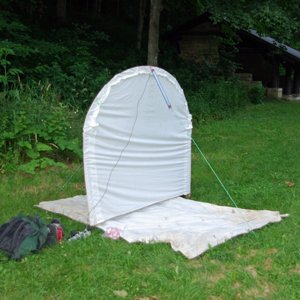
The other method for the sheet is to make a frame out of 1/2 inch electrical conduit with right angle fittings at the corners. The fittings have screws that can be loosened and then tightened after the pieces are fitted together. The sides are 5 feet and the top 5 feet. The top piece is slid through a slot in the top of the sheet and then attached to the side pieces. The side pieces are slid over two electric fence poles. This method does not require the tie downs for stability but may be needed if windy. I use a couple big squeeze clamps to fit over the metal poles and clip to the sheet at the bottom to hold it to the frame. I also lay a sheet on the ground after spreading a piece of plastic down on the ground. The plastic helps to keep the sheet dry if the ground is wet. The light fixture can be hung from the metal frame and a second fixture may be added to shine light both ways from the sheet.
After using a couple times, I ended up drilling holes in the conduit where the screws touch the conduit. This helps in aligning the pieces as I assemble. I also lettered the joints and then just have to match the letters. It takes about five minutes to put the assembly up. I also mounted conduit hooks to the lights and then just have to hook the lights over the top rail instead of using the chain I had used.

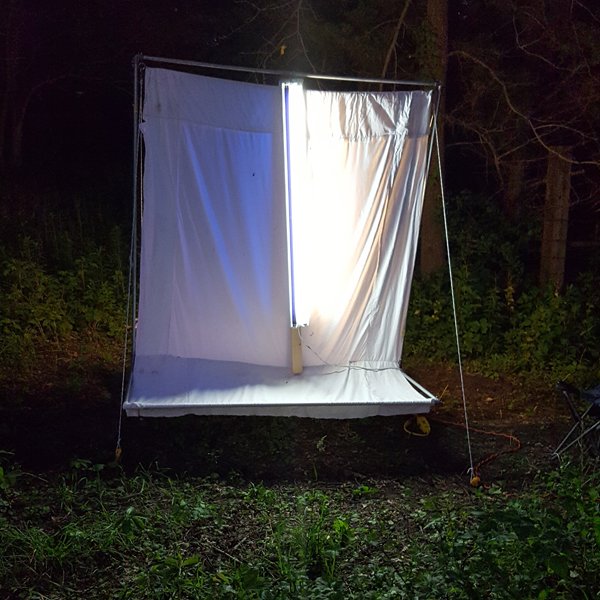
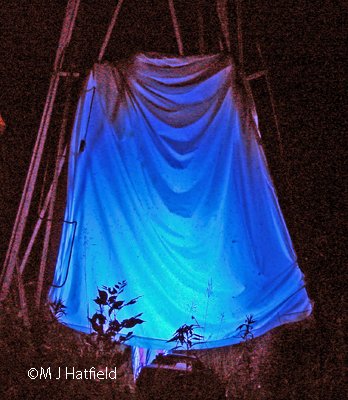
I made a modification to the above setup so you do not have to get on the ground. About a foot up on the poles I stick into the ground, I place a stop so the frame stays off the ground. I added extensions to the front and back of the frame. I added a sown slot to the sheet on one side and then added a piece to the other side. The extensions hold the bottom of the sheet out two feet and keep the bottom a foot off the ground. With this setup I have to add tie downs because the fixtures do not touch the ground and need the stability to keep the setup vertical. This allows me to use a small stool to set on and take pictures low on the sheet.
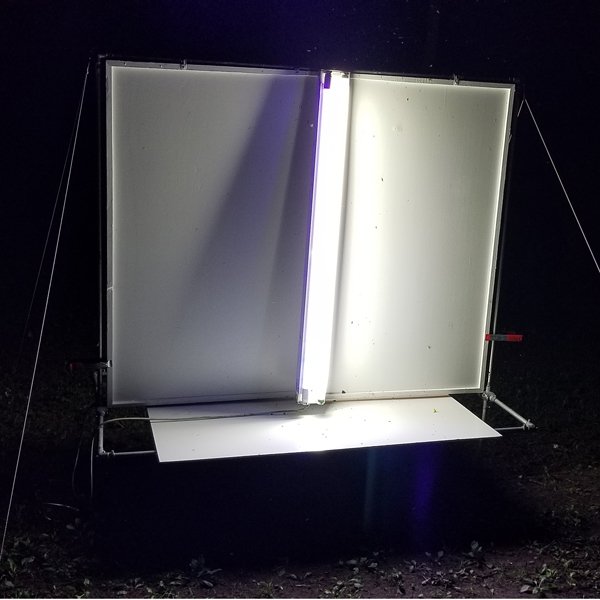
I replaced the sheet with a piece of 1/4 plywood that I framed and painted with white satin paint. The plywood is easier to keep clean and the wood does not move as much as the sheet. The lesser movement helps when photographing the smaller insects as you can maintain better focus. I have also switched to LED lights in the fixtures. The LEDs take less power so I can run the inverter/battery longer.
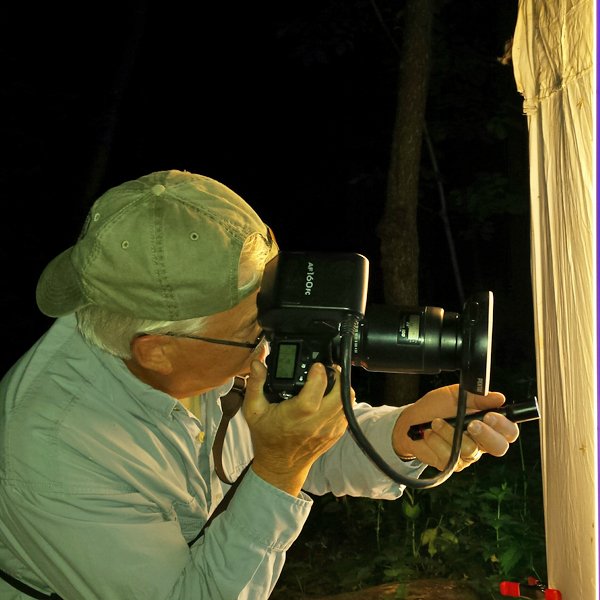
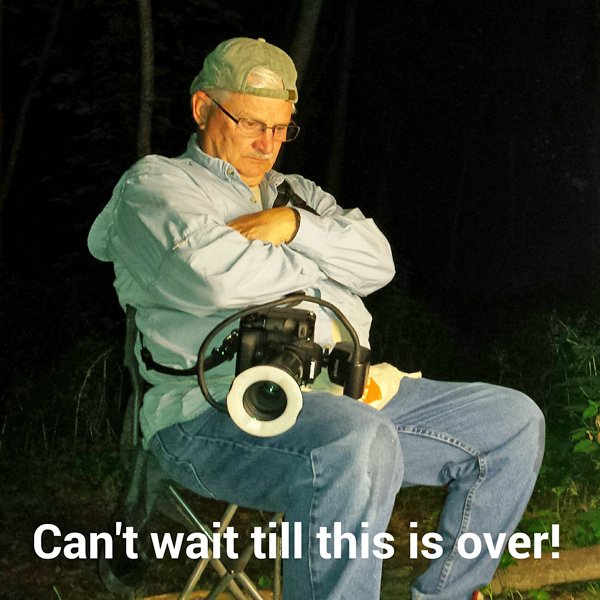
Photos of me taking pictures of a moth on the sheet and setting in a chair waiting till the next round of photos. Photos by Aaron Eckley.
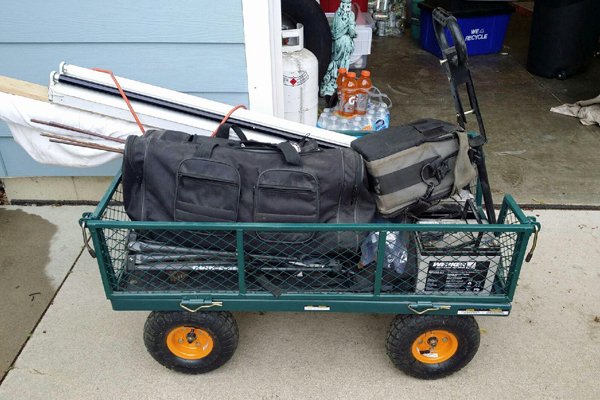
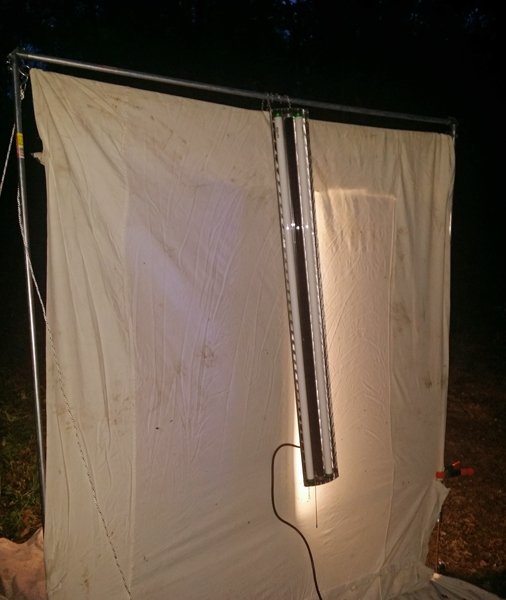
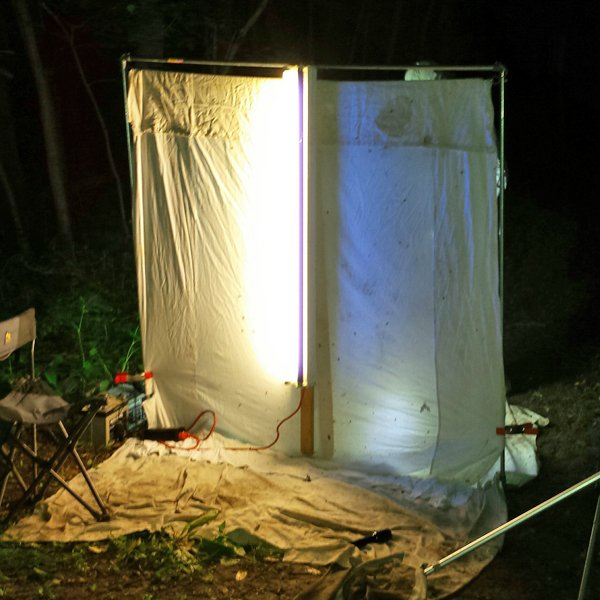
Update: I now use two 4 foot light fixtures with one blacklight LED and one white LED in the fixture. I ungraded to a 750 va inverter and use a large marine battery to run the inverter.
I currently use a Canon R7 with a 100mm macro lens. I also use the Canon twin flash. I set the camera to manual mode with the shutter set to 1/250 and F8. Iso is set to 100. The flash is set to manual at 1/128. This seems to be a good setup for photographing insects on the white background.